5.2 PickMeApp Installation Packages Profiles
5.2 PickMeApp Installation Packages ProfilesTo better organize installation packages, PickMeApp has introduced Installation Package Profiles.
These profiles are designated locations where application installers (packages) are stored and are categorized based on their storage type: local, remote (cloud), or peer-to-peer. Depending on the storage location, PickMeApp profiles are divided into three main types:
- Local Profiles: These manage installation packages on local drives and are colored grey when active and red when inactive, typically in the portable version of PickMeApp.
- Web Profiles: Managed on a remote server, these profiles are colored blue when online and grey when offline. They are currently set to read-only, prohibiting the import or capture of installed applications within the profile.
- Peer-to-peer Profiles: Designed to enable users to seamlessly synchronize installation packages across multiple PCs, these profiles are colored blue when connected and grey when offline.
Build-In Installation Packages Profiles
PickMeApp includes several predefined profiles. By default, there are four (4) built-in profiles:
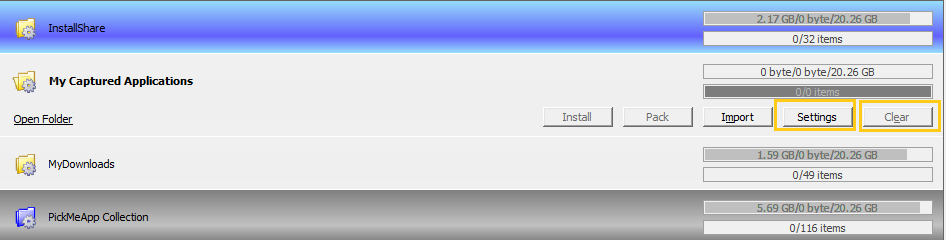
- My Captured Applications: This is the default local profile for captured applications and is always enabled. It saves captured applications to the TAPPS folder within the PickMeApp application directory. "My Captured Applications" is the active profile each time PickMeApp is started. Although you can rename this profile via the profile's "Settings" button, it will always be linked to the TAPPS folder. If the TAPPS folder is deleted, it will automatically be recreated. The contents of this profile can be cleared by pressing the "Clear" button, which deletes the installation packages located in the TAPPS folder.
- My Downloads: This local profile points to the Windows Downloads folder. You can rename it using the Profile Settings button, but it will continue to direct to the Windows
- Downloads folder. Clearing the contents of this profile, achieved by pressing the "Clear" button, results in the deletion of the installation packages found in the Downloads folder.
- PickMeApp Collection: This built-in Web Profile contains installation packages of popular applications.
- InstallShare: This is a built-in peer-to-peer profile that enables users to seamlessly synchronize their installation packages across multiple PCs.
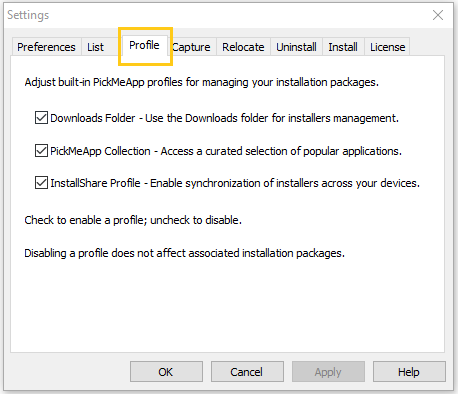
To manage your built-in profiles, navigate to the Settings dialog in PickMeApp. Once there, click on the ‘Profiles’ tab to view all available built-in profiles.
In this dialog, you can enable or disable built-in profiles with a few exceptions. Use the toggle switch next to the profile name to enable or disable it.
Creating a User-Defined Profile
To better organize your captured applications and other installation packages , you can create your own user-defined profiles. For example, you can create a Backup profile for packages you want to back up with their own customized settings.
To create a new local profile:
- Click the Add Profile button at the bottom of the Installation Packages panel.
- On the Add Profile window, enter the Profile Name and select the location where the applications under the profile will be saved. The location can be a folder under the PickMeApp installation directory, anywhere on your computer, on
- a removable drive, on the network or on the cloud.

- Click OK to add the new profile to the Captured Application panel.
Note: Upon adding the new profile, if there are already installation packages in the profile location, these will be added to the profile automatically.
Creating a Web Profile
Web Profiles point to a server somewhere on the Internet.
To create a remote web profile, you should indicate the location of the remote profile. For example, to create a web folder for installation packages from NirSoftTools, enter NirSoftTools as the Profile Name, then under Location, enter https://www.nirsoft.net/pad/pad-links.txt.
In this example, the text file named pad-links.txt contains the list of PAD files for installation packages in the profile. 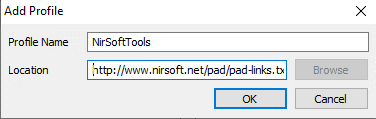
Editing a Profile Name
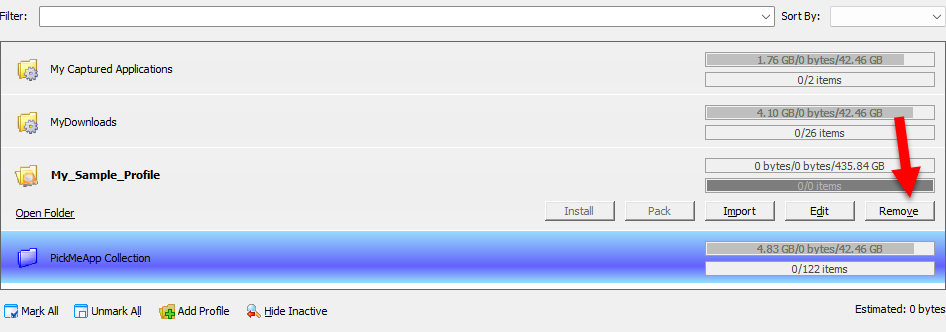
The names of the default My Captured Applications profile as well as user-defined profiles may be edited by clicking the Settings button under the profile’s Expanded view.
Removing a User-Defined Profile
To remove a profile and all installation packages belonging to it, click the Remove button on the profile’s Expanded view.
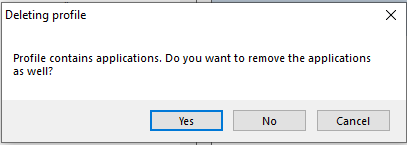
If there are installation packages in the Profile, the following message will be displayed. To go ahead and remove the packages with the Profile, click Yes. Otherwise, click No, in which case the packages will be left behind in the local folder of the deleted profile.
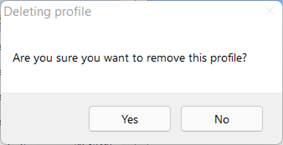
If there are no installation packages within the profile, you will be asked to confirm the Remove operation. Click Yes to go ahead and delete the Profile.
Note: Built-in profiles cannot be removed. However, you can disable them via the Profile Tab in the Settings Dialog
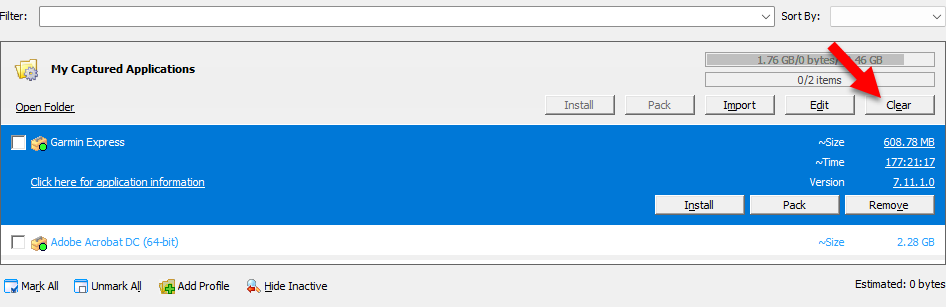
Clearing the Built-In Local Profiles
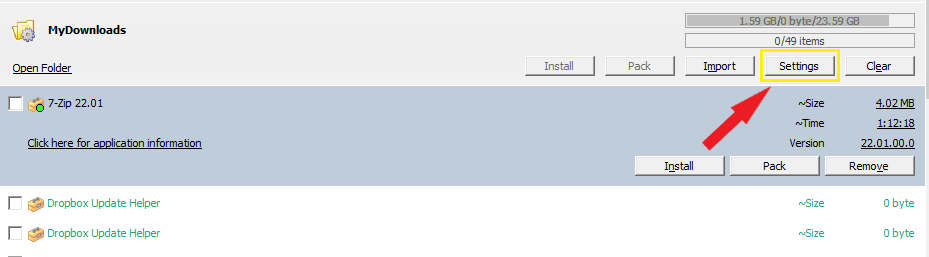
To remove installation packages or captured applications located in the built-in profiles like My Captured Applications and MyDownloads profiles, click the Clear button on the Profile Bar’s Expanded Entry View. When prompted, click Yes to continue, otherwise click No.
Hiding Inactive Profiles
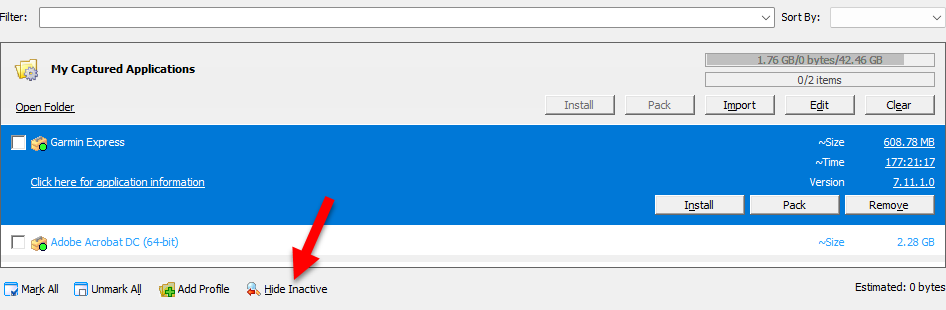
If PickMeApp does not find the destination folder of a profile, it marks the profile with a red folder icon and shows it as inactive.
This happens when the path of the profile is located on a disconnected mobile drive, or on an inaccessible network storage.
To hide inactive profiles, click the Hide Inactive button at the bottom of the Installation Software Packages panel.
Selecting a Profile for an Application Prior to Capture
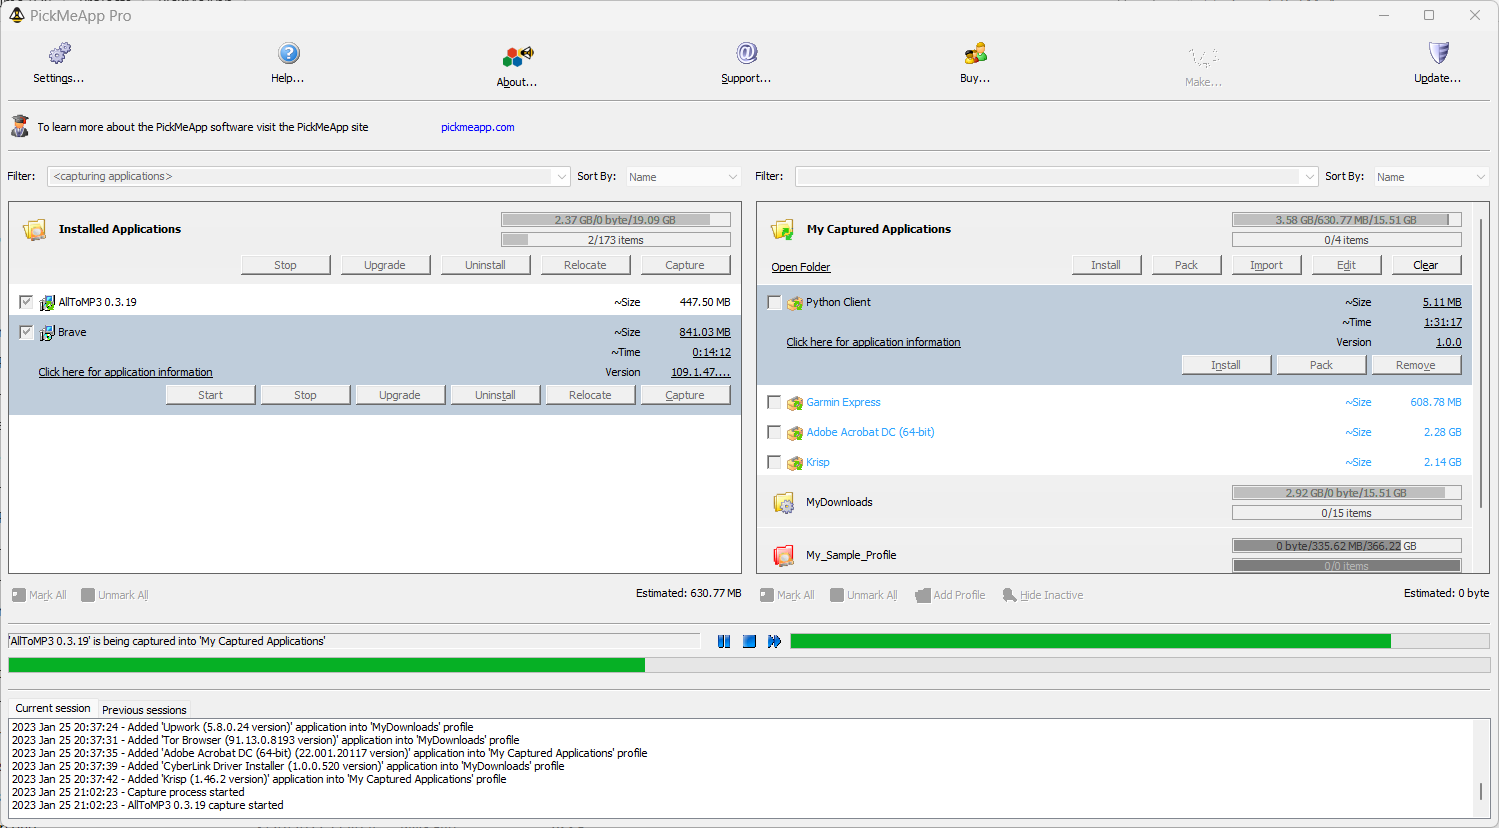
To capture an application into a profile, select the profile from the Installation Software Packages panel prior to running the Capture process. The profile’s destination folder is where PickMeApp will save the created .tap files or exe files (depending on the Capture settings) . In the screenshot below, the application that is undergoing capture is being saved to the My Captured Applications profile.
Note: You cannot capture an application to the same profile twice. If you want to capture an application again, either remove the captured application from the profile or choose another profile for the application.
Note: You cannot use Web Profiles to capture applications.
Importing Installation Packages into a PickMeApp Profile
To import an installation package into a PickMeApp Profile:
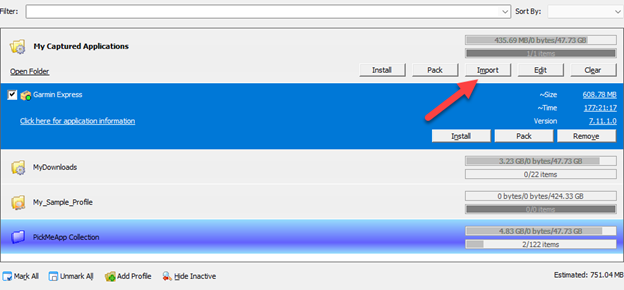
- Select the PickMeApp profile to which the installation package will be imported.
- Click Import.
- Select the installation package from your computer or the URL referencing the remote installation package. Make sure to select the appropriate installation format from the list so that you can see the installation packages located on your computer.
- Click Open to continue the import process.
- The Progress Bar shows the status of the application during importation into PickMeApp. The Log Window also displays the status of the current session.
- Once PickMeApp finishes with the Import process, the Progress Bar is refreshed or cleared and the Current session tab under the Log Window displays an Import process is finished entry. The installation package also appears in the list of applications under the designated PickMeApp folder.