The Installation software packages panel lists your installation packages in so-called Profiles.
Package Font Color
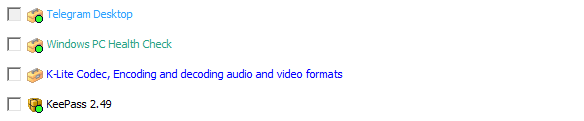
PickMeApp uses different icons and font colors to distinguish different types of packages.
- Green font - MSI Package
- Turquoise - exe package
- Blue - pad and tad files
- Black – tap files
Filtering Installation Packages
You can instantly search for installation packages and captured applications by using the Filter located on the top of the Installation Packages panel. To use the Filter, simply type the name of the application, or part of its name on the box. The list of installation packages is then filtered to display only the installation packages that meet your search criteria for each PickMeApp Profile.
As an example, filtering the list by Microsoft displays all packages with the word Microsoft In the application or package name. You can see this in the screenshot below.
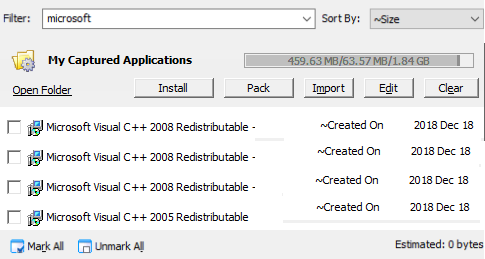
At this point, we can already click Mark All to select all the filtered application packages. However, if we only want to install a single application package, we can narrow down our search further. Let us illustrate this with an example.
Say we are looking for Microsoft Visual C++ 2010 redistributables only, we can filter the list of application packages by 2010. As seen in the screenshot below, this narrows down the list to two packages. We can then select whichever of these packages we want to install, pack, or import.

You can also click on the Filter box and select from the following pre-defined options:
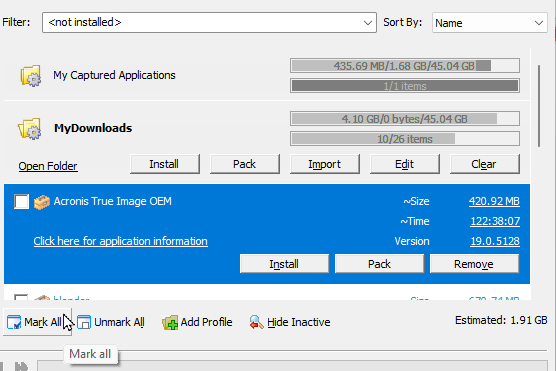
- <installed> – Lists all the installation packages that have already been installed on the PC.
- <not installed> – Lists all the installation packages that are not yet installed on the PC.
- <selected> – Lists all installation packages that have been marked/selected.
- <clear> – Cancels the previous filter and lists all installation packages.
Going back to our sample filter where we look for Microsoft Visual C++ 2010 redistributables, we can reset the filter by selecting the <clear> predefined option from the Filter box.
The screenshot below shows the predefined filter options. 
Marking an Installation Package Prior to an Operation
After filtering the list of installation packages by name or according to the predefined options (see Filtering Installation Packages), manually mark the box to the left of a package to be installed, packed, or imported.
To select all the filtered installation packages, click the Mark All button at the bottom of the Installation Packages panel. You can then install, pack, and import all the marked application packages using the Install and Pack respectively, under the Expanded View of the PickMeApp profile.
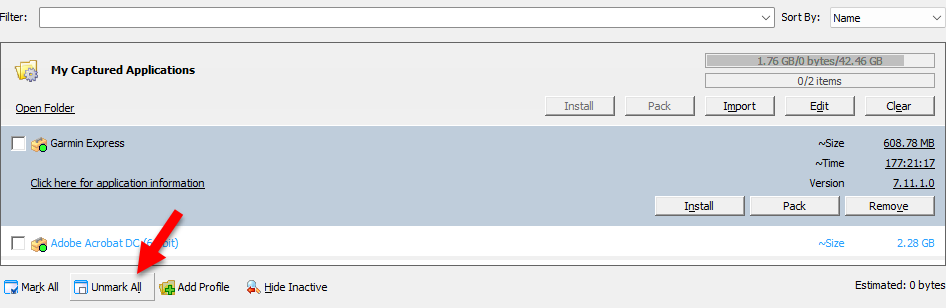
Unmarking Selected Installation Packages
After marking all installation packages (see Marking an Installation Package Prior to an Operation), you can click the Unmark All button to deselect the marked packages. You can also do this manually, by unmarking each box to the left of the marked installation packages.
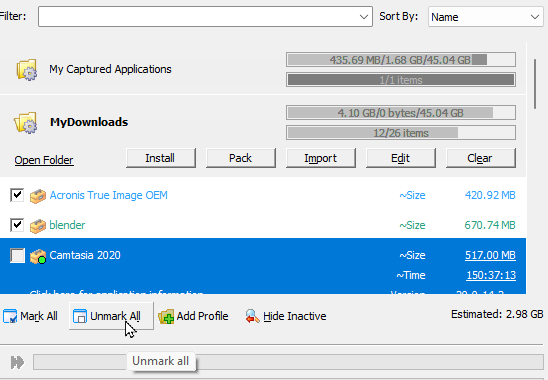
Sorting Installation Packages
To help you better organize your installation packages, you can sort the list by Name, Size, Age, Used On, Cache Size, and Version. 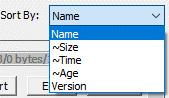
Selecting Installation Software Packages
You can select an installation package from the Installation Software Packages panel by checking the box before its name. You can select one or more packages using this method. In the same manner, uncheck the box to deselect the package.
To select all the installation packages found by a filter or listed under a profile (see Filtering Installation Packages), click the Mark All button at the bottom of the Installation Software Packages panel. In case you change your mind after selecting all packages, click the Unmark All button to deselect them again.
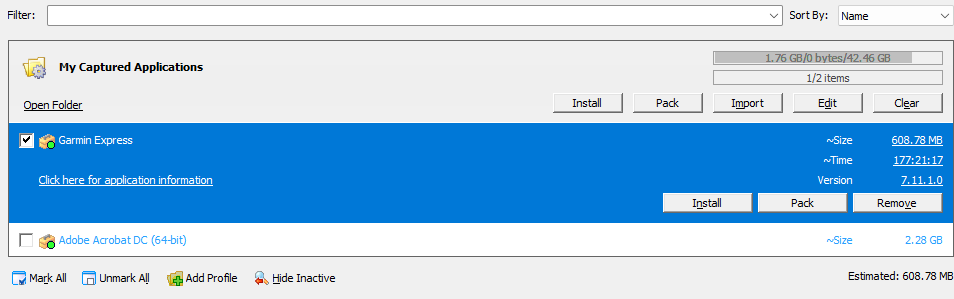
Expanded Package Entry View
To display the expanded installation package entry view, or the Expanded view, click a package under the Installation Software Packages panel.
Depending on the sort filter used (see Sorting Installation Packages), the Expanded view may show the following information:
- Estimated Size (~Size) – The actual size of the application when installed on the destination computer. This is normally the same as the size displayed in Windows when adding or removing programs in Control Panel.
- Estimated Time (~Time) –The estimated time for installing the package.
- Version – The version number of the installation package.
It also shows the following buttons:
- Pack – Creates a standalone installation file for a captured application.
- Install – Installs the application. It is enabled only when the application is not installed on the PC or installation settings allow installing the same or an early version of the application on the PC.
- Remove – Deletes the captured application from the active profile
To view more details about an installation package, you can also click the Click here for support information link directly below each expanded application entry.
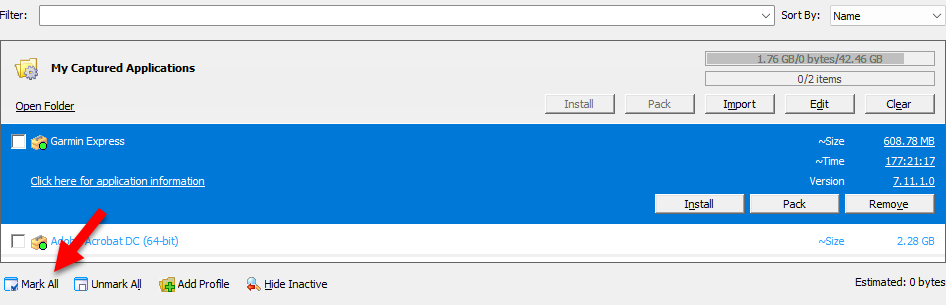
Deselecting Installation Packages
To deselect all packages found using the filter or under an active profile, click the Unmark All button located at the bottom of the Installation Packages panel.